The ultimate 125cc scooter modification project
Share this
Did you ever had a far-fetched idea lurking in your head to convert your scooters and motorcycles into something else? Or maybe the thought of modifying it into something different?
We’ve all done some kind of modifications on our bikes in some way but in a mild manner like adding aftermarket products and what not and we tend to stick to the normal modifications and upgrades because either we’re afraid that we might mess things up or we dont have the means and equipments to do such modification like this one.

We came across this video on Youtube with over 11 million views and we thought it would be nice to share this to you via our website in the interest of extreme modifications.


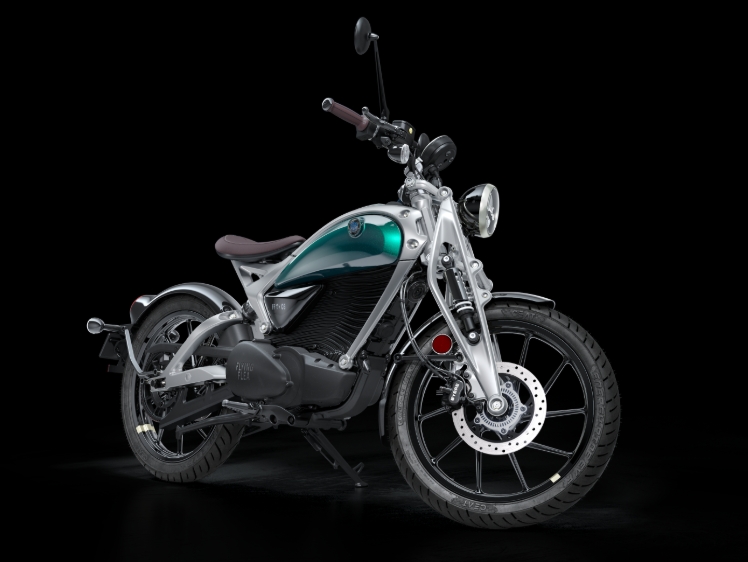
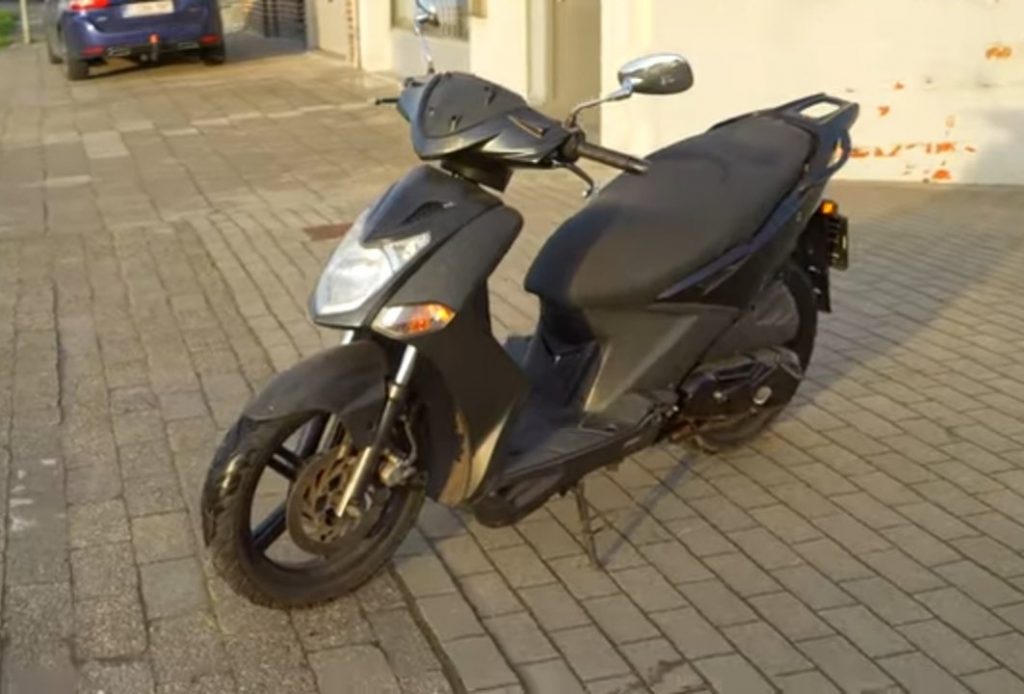
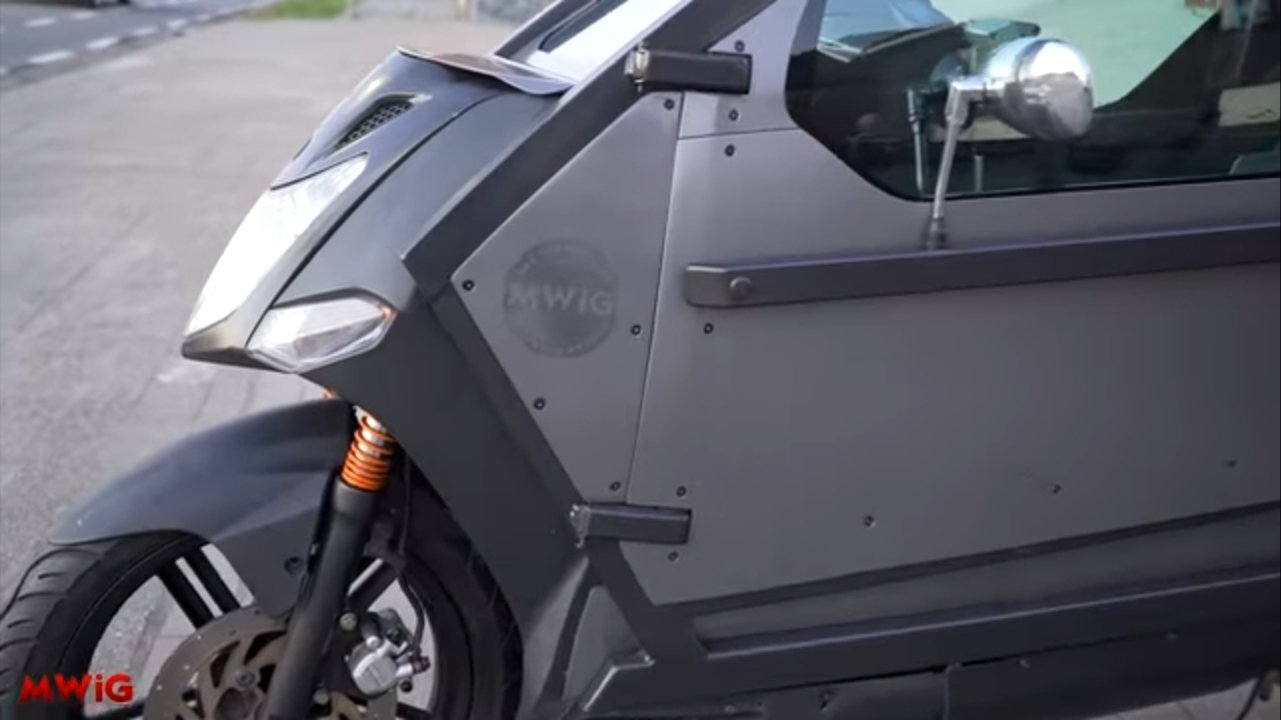
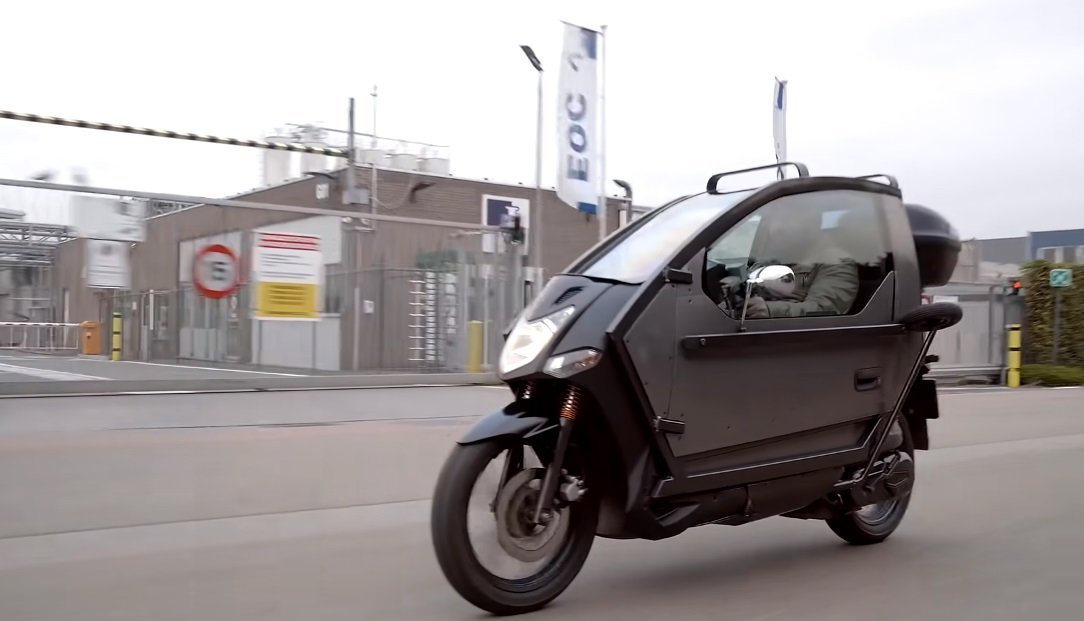
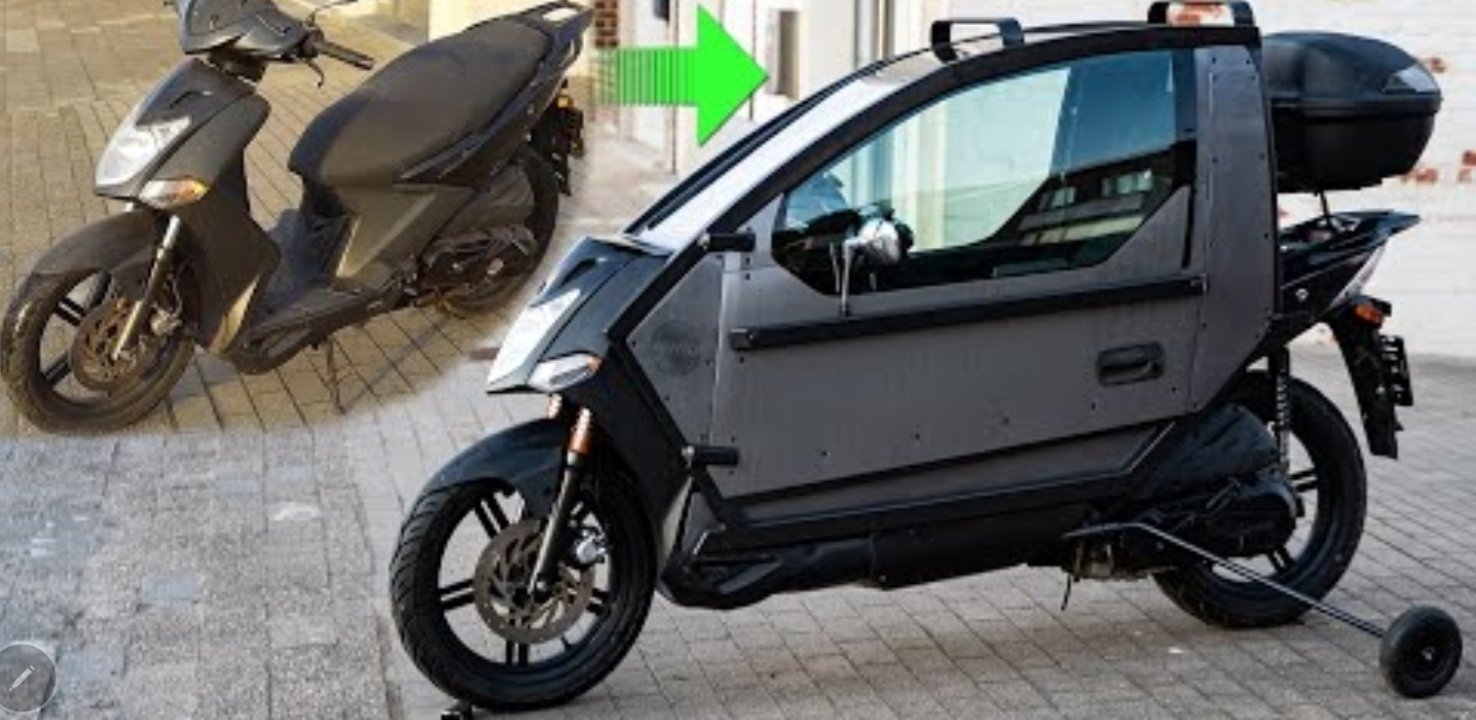
The MWIG (“Meanwhile in the Garage”) Youtube channel modified a humble Kymco Agility 125 into a futuristic looking motorcycle using ordinary materials and parts from the scrapyard.
The builder said in the post that he got his idea when he was still young. He saw a motorcyclist driving all wet and full of mud because it was raining and it would be a great idea to still enjoy riding a motorcycle and not fight the cold and inconvenience of the rain. We are assuming that the builder is somewhere cold and rains and by judging from his accent on the video, he might be in Russia.
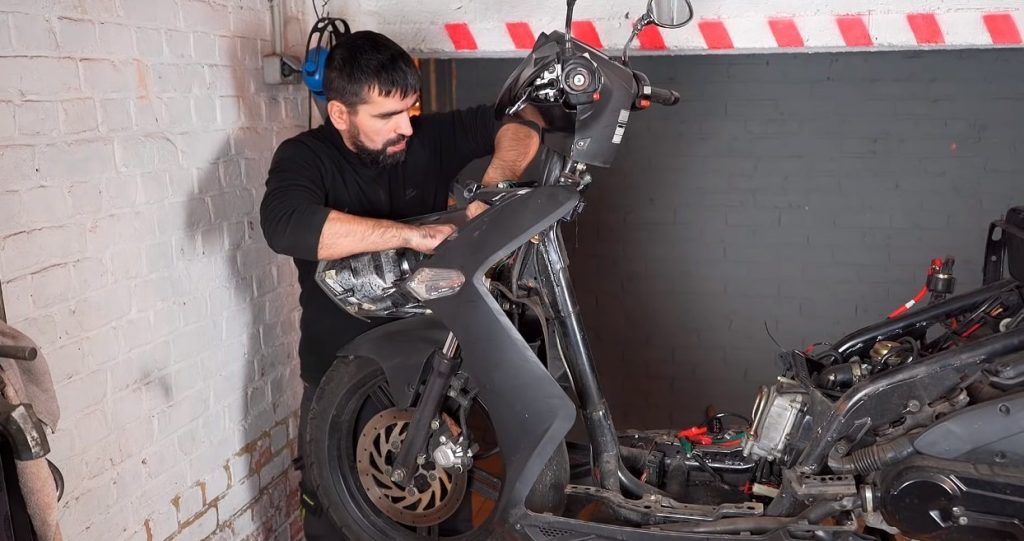
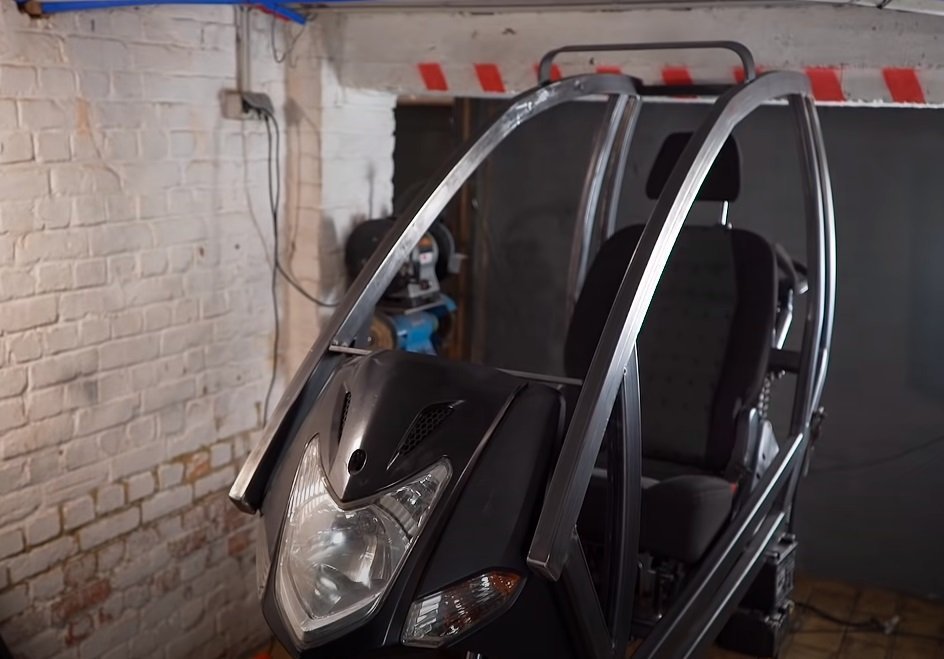
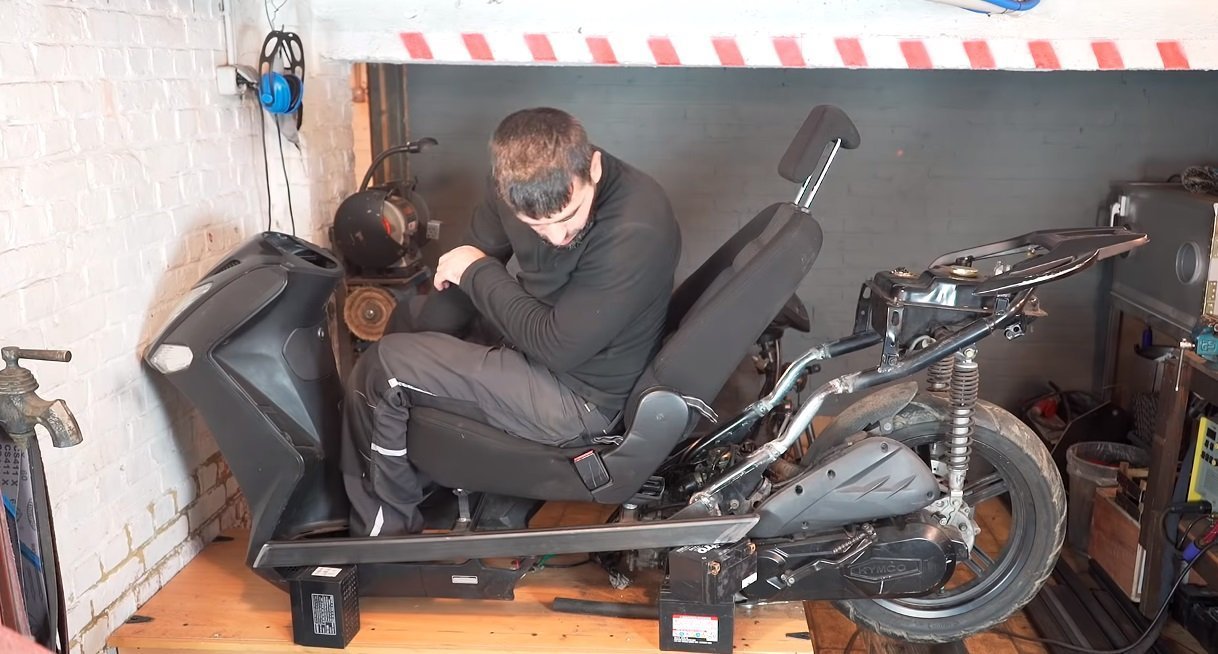
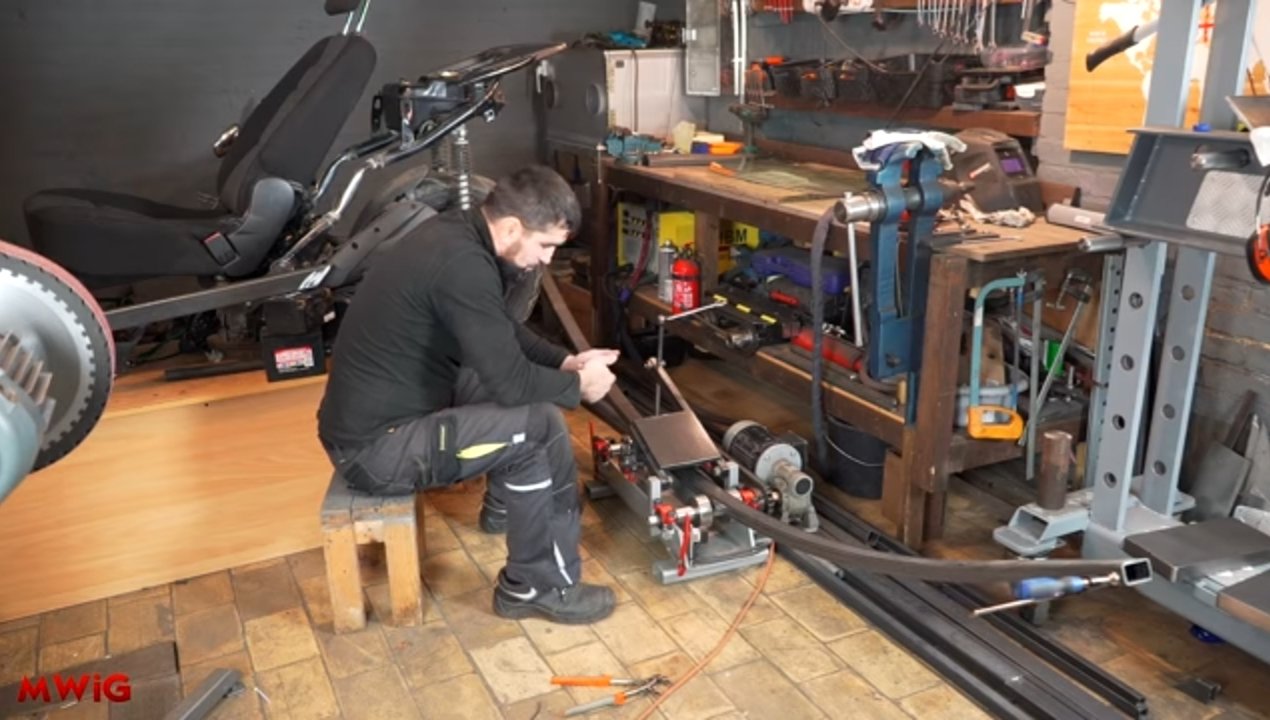
He started dismantling the bike by removing all the outer covers and fairings so he could asses what is needed to be done. The first thing that he did was the placement of an automobile type seat that he got from the scrapyard. I think we all agree on his idea that any kind of vehicle should be comfortable.
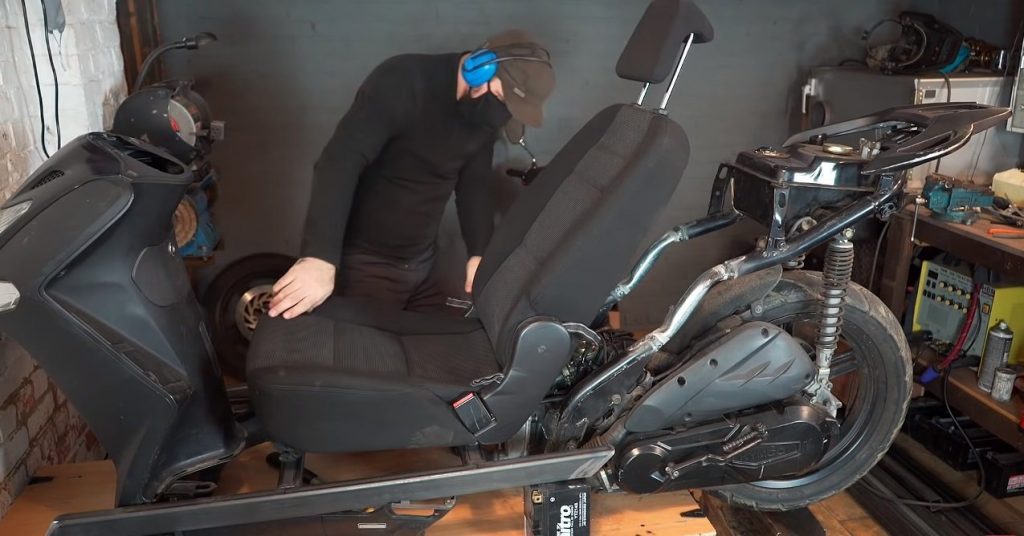
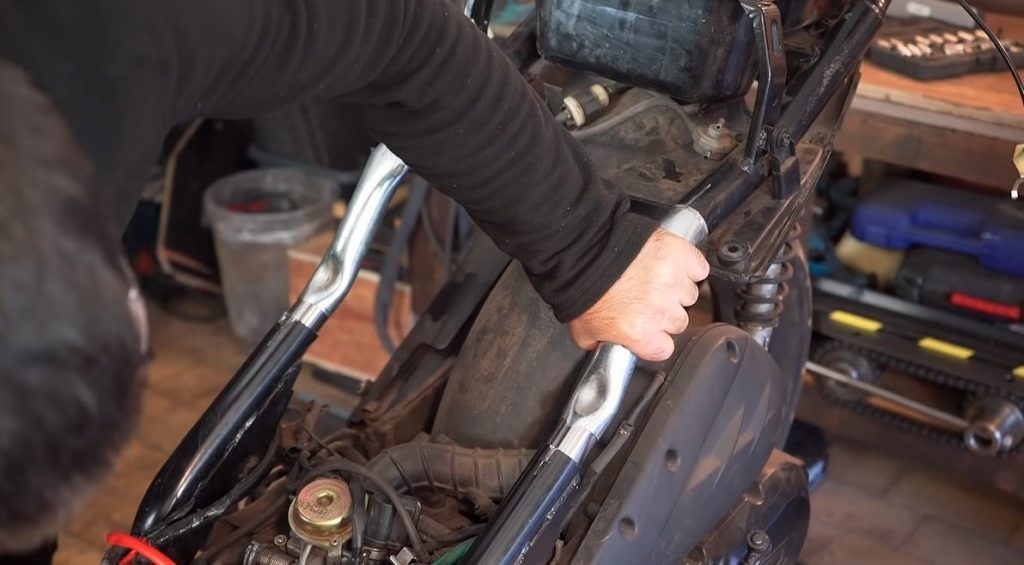
Cutting the frame and making it longer is a much needed modification to fit the seat, and also as you can see on the photos, he mounted the seal lower for that added stability, maybe he knew that the additional weight he will install will result in undesirable problems in the longrun.
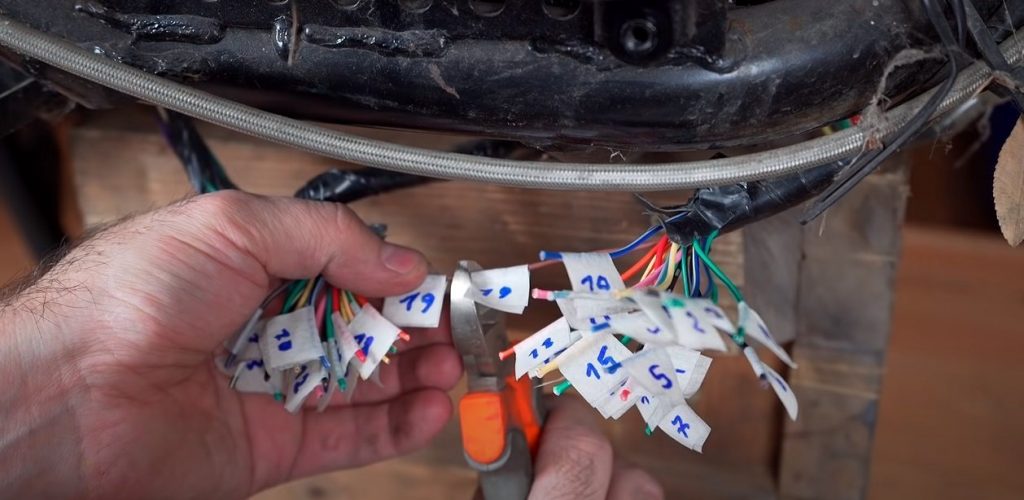
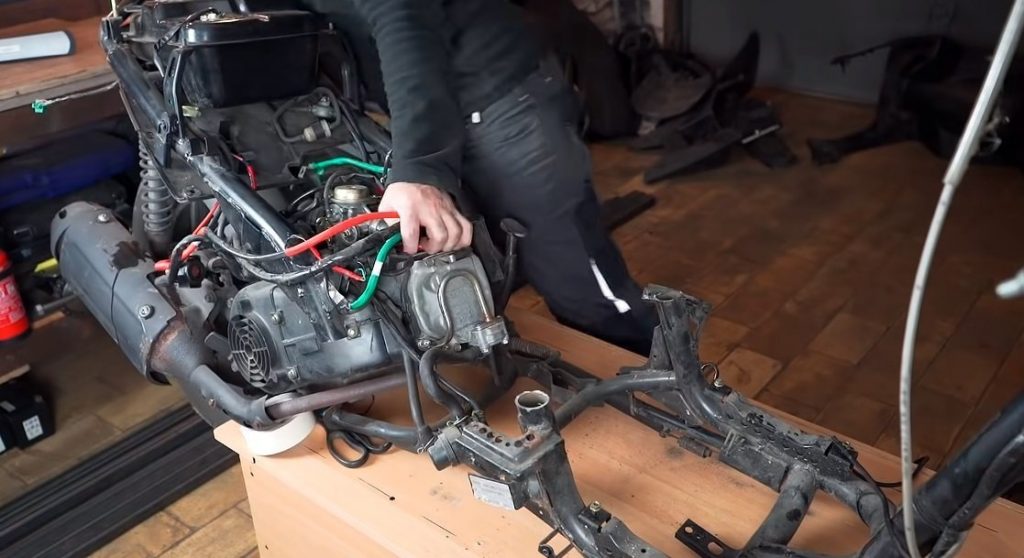
He carefully labeled all the wires and harnesses that needed to be cut before removing the engine so it will be easy to re connect them later. Don’t forget that even the wires are color coded and could have more that two green wires together in a harness, most of them connects in a particular part and you dont want to get them mixed up.

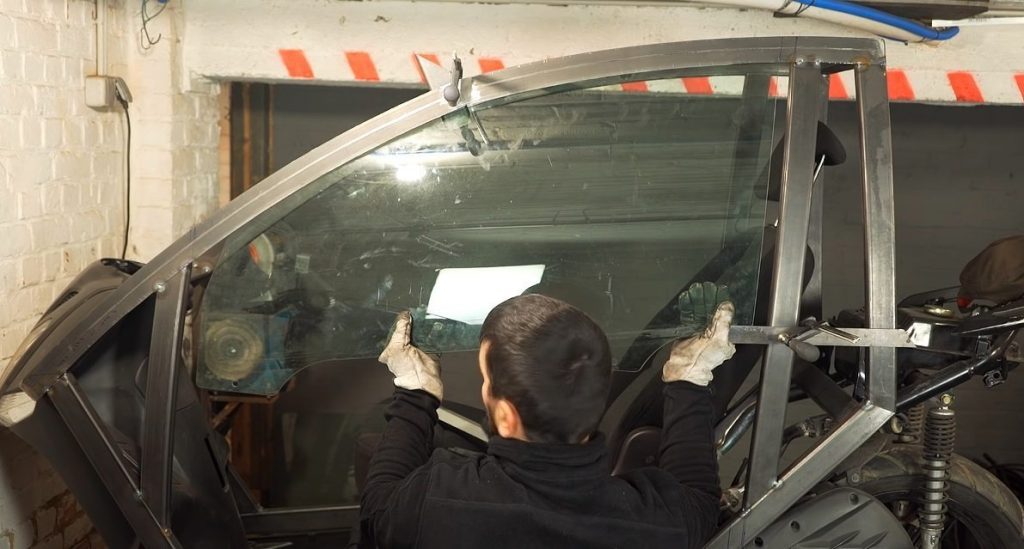
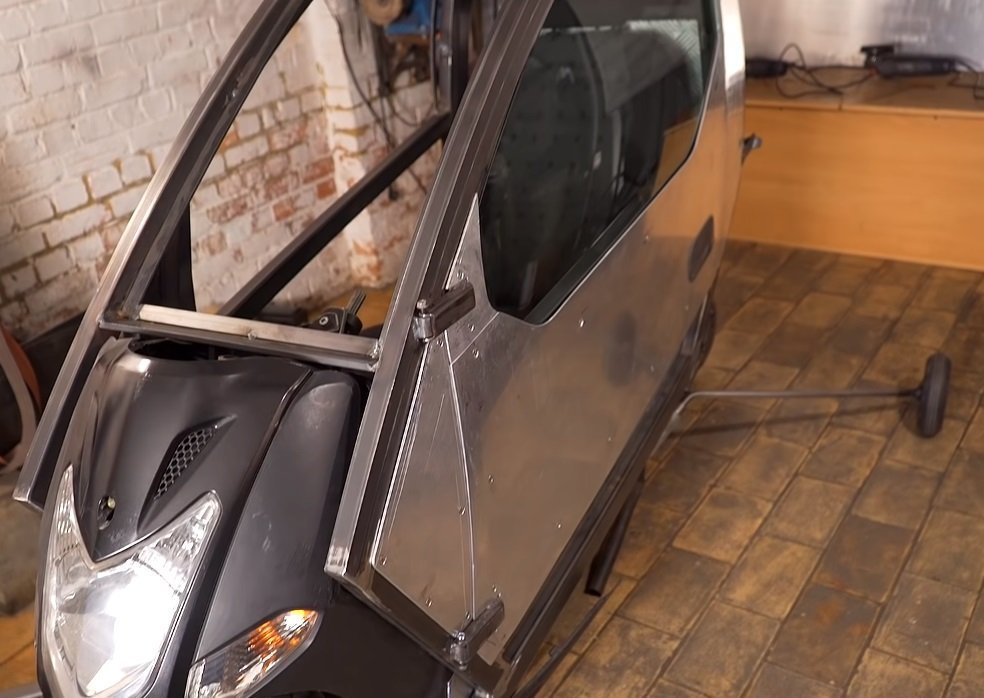
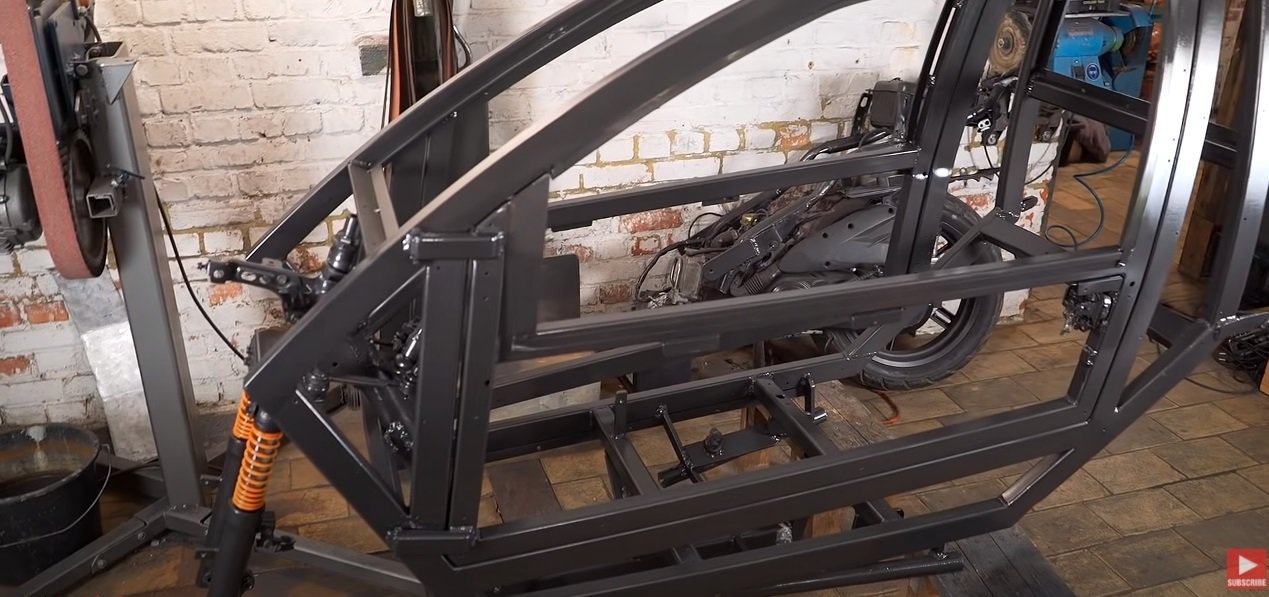
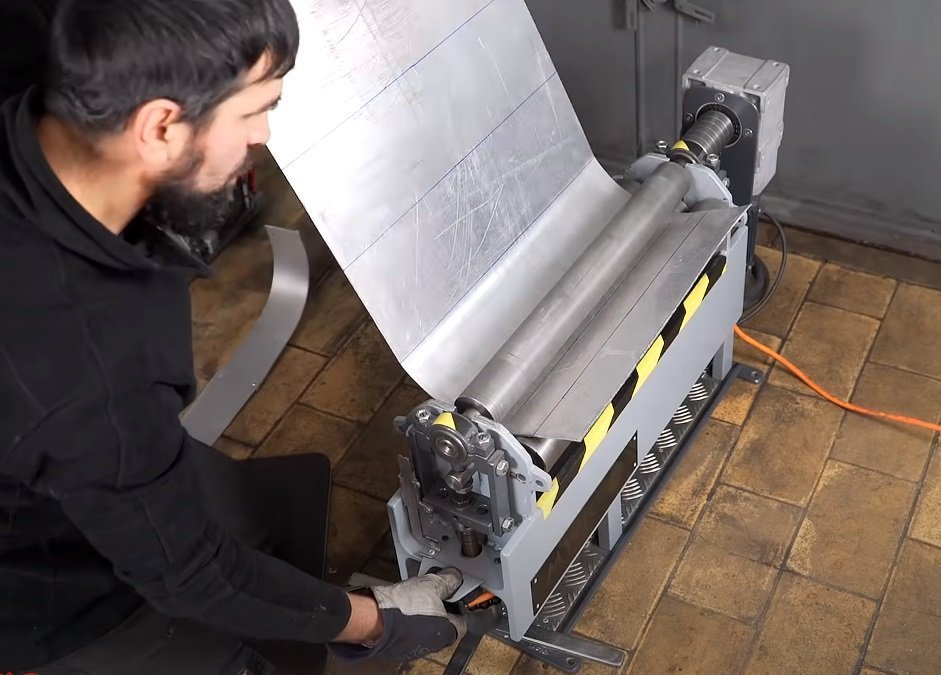
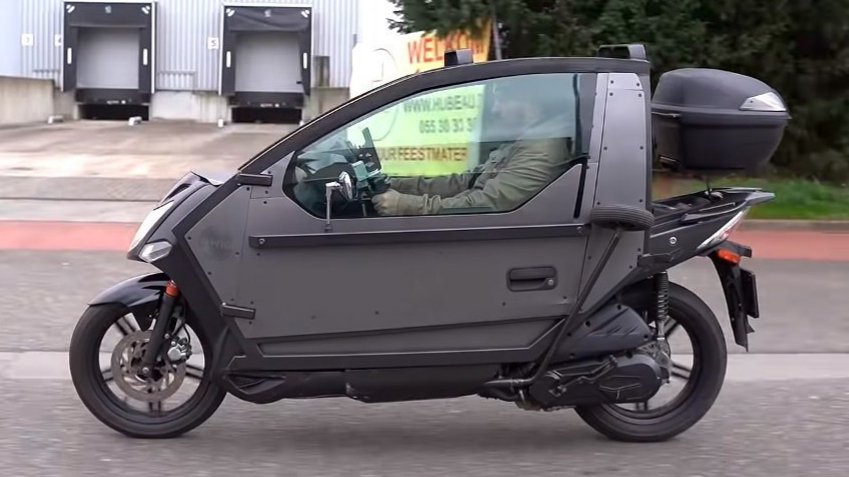
He then made an enclosed frame from ordinary tubular steel. He bent and arched them to follow the line of the left and right window glasses that he will be installing, it’s also for aerodynamics as the author explained in the post that he wanted the vehicle to be economical also.
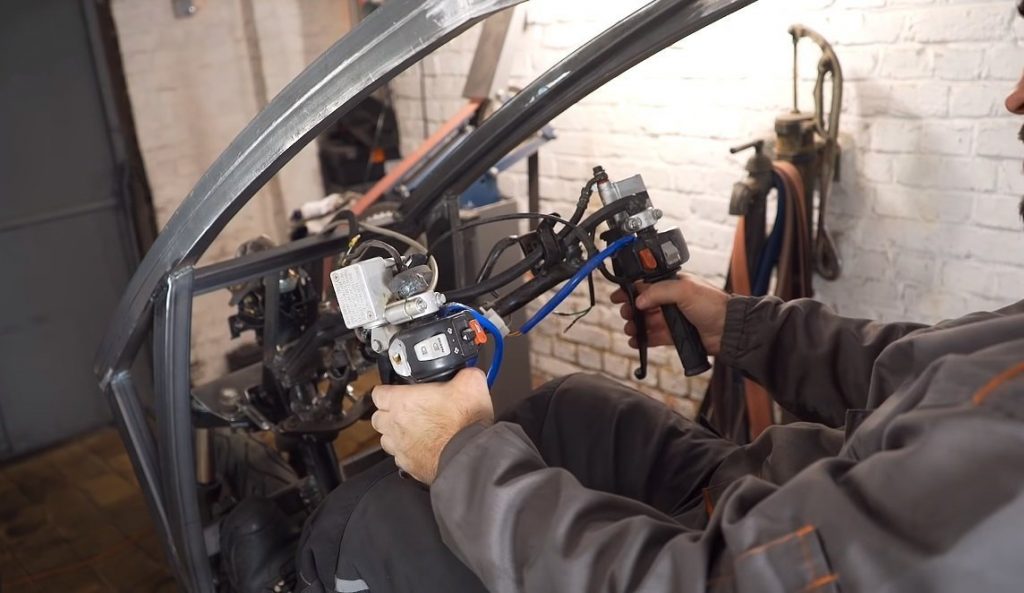
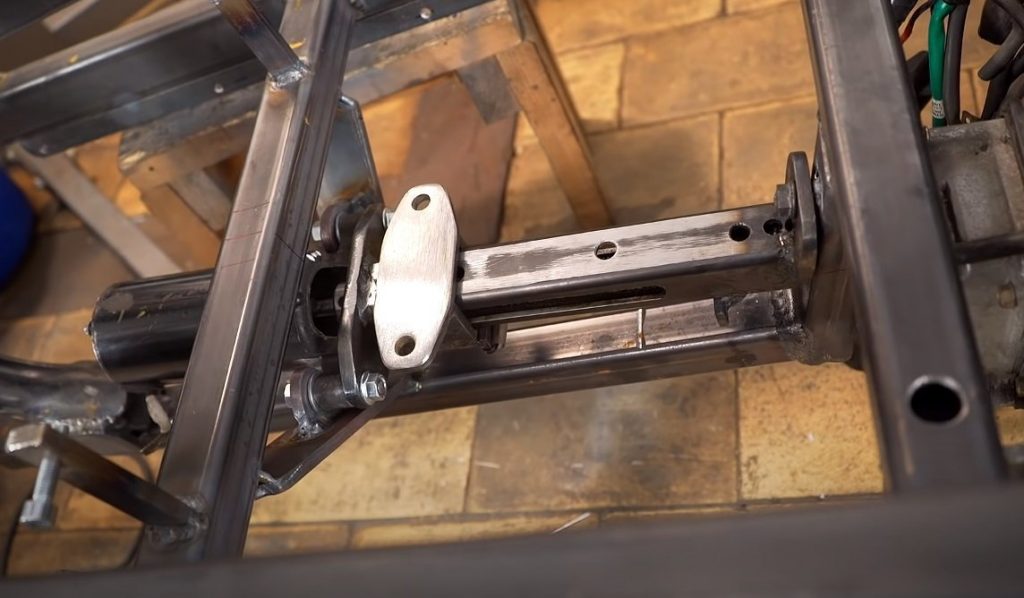
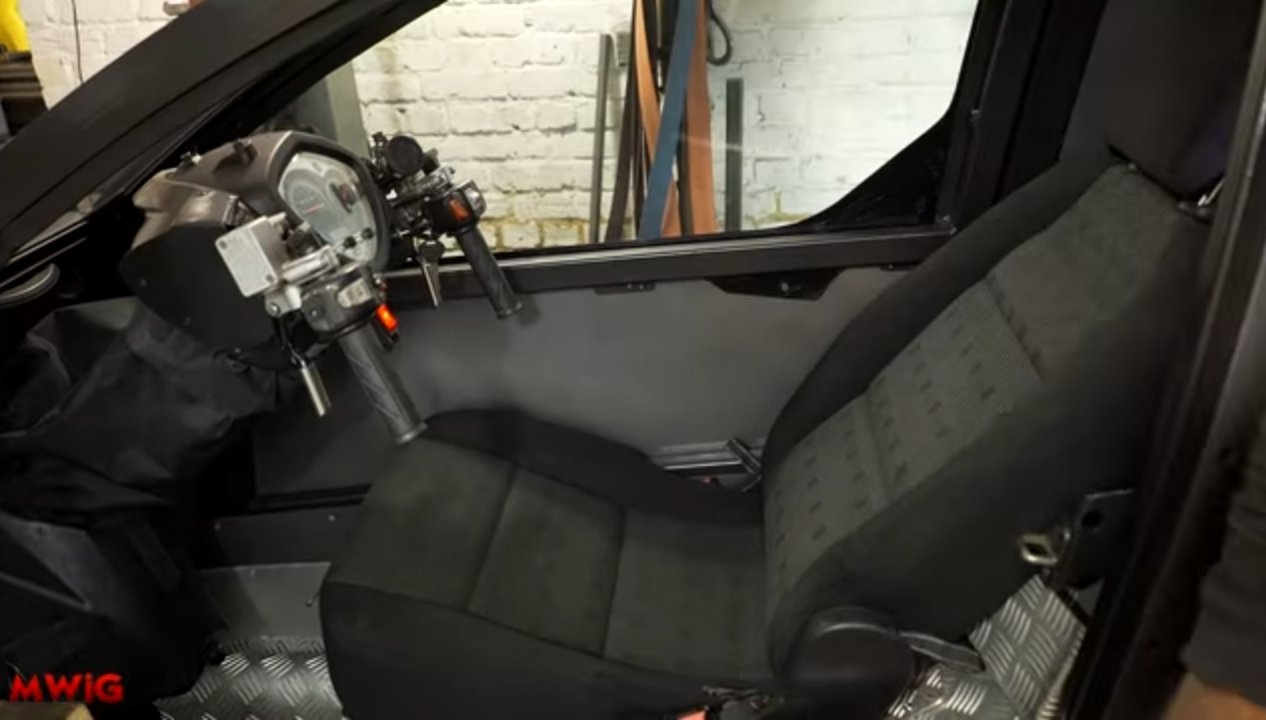
The next tricky part is making the the handlebar closer for reach. Bear in mind that he extended the frame to be able to install the car seat so extending the handlebars are necessary, he used a steering cross joint from a car that he also got also from the junk yard and some old stabilizer links mounted directly on the t-post fork. He also bent the handles so it won’t hit the frame.
Now that steering control problem is out of the way, the retractable balancer wheels are next. As you noticed, his goal is to be enclosed and not fighting the cold weather of Russia which means trouble when your vehicle only have two wheels. Having a chunk of big holes at the bottom for your feet whenever you stop kind of defeats the purpose of having an enclosed cockpit so instead he decided on making a pair of retractable balancer outriggers is the way to go.


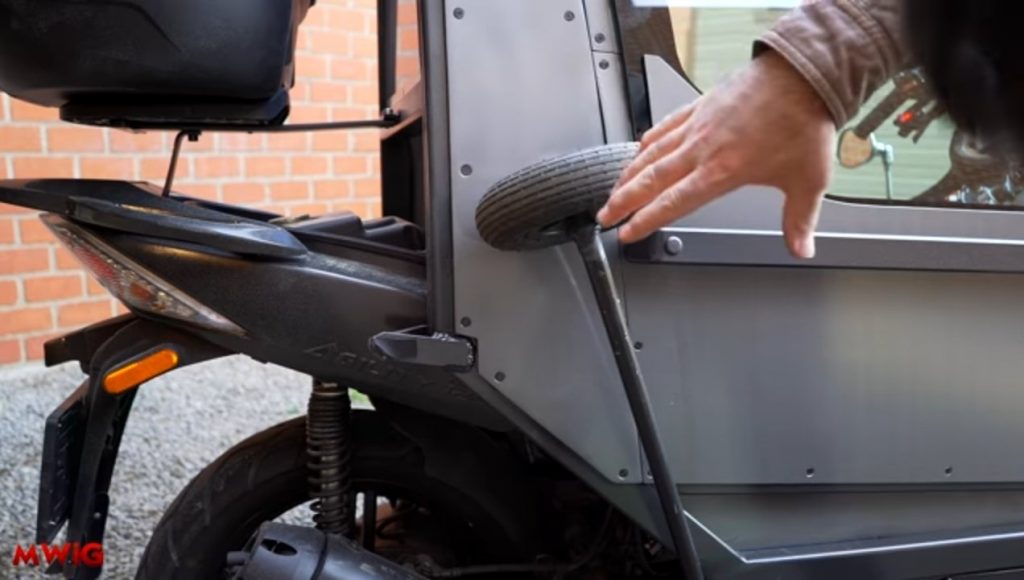
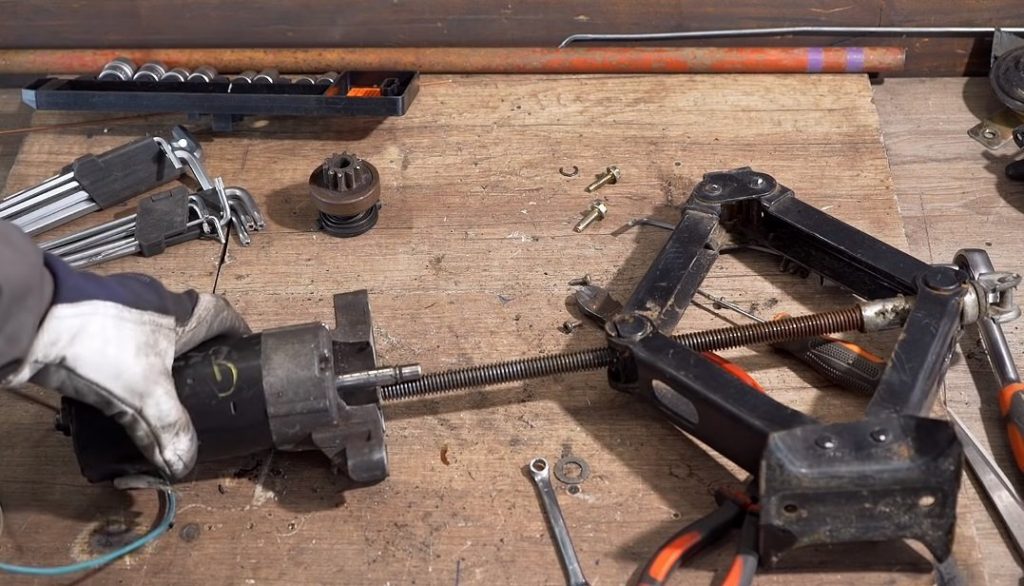
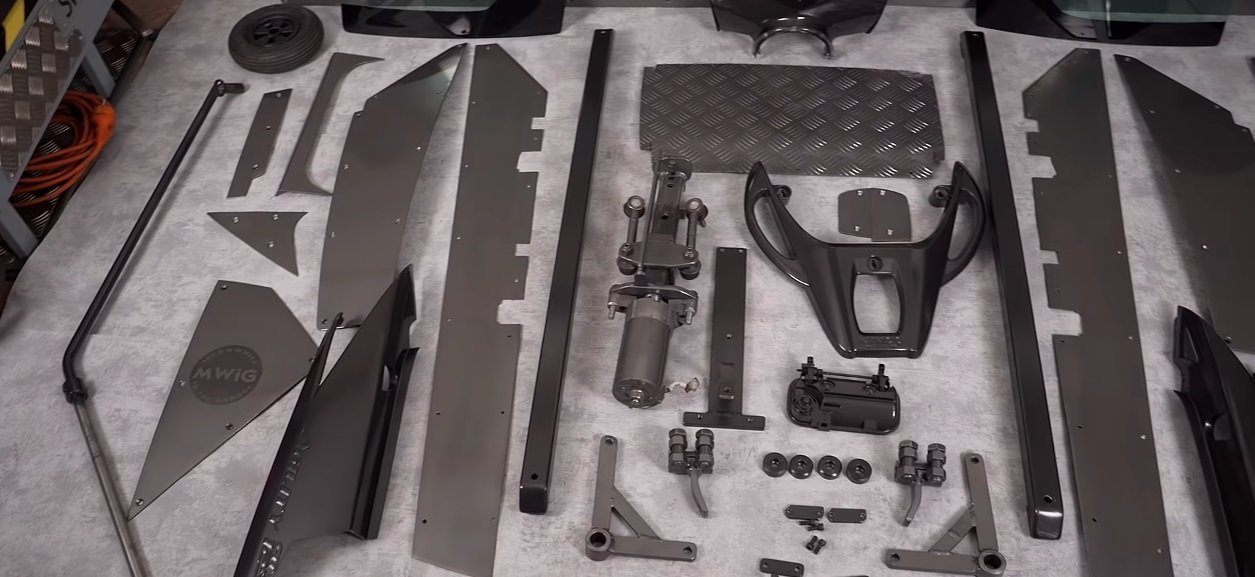
He used an old car starter motor and a spare screw jack. Notice how intricate his design is. It’s made in such a way that its not obstructive and can be covered out of the way. Genius!
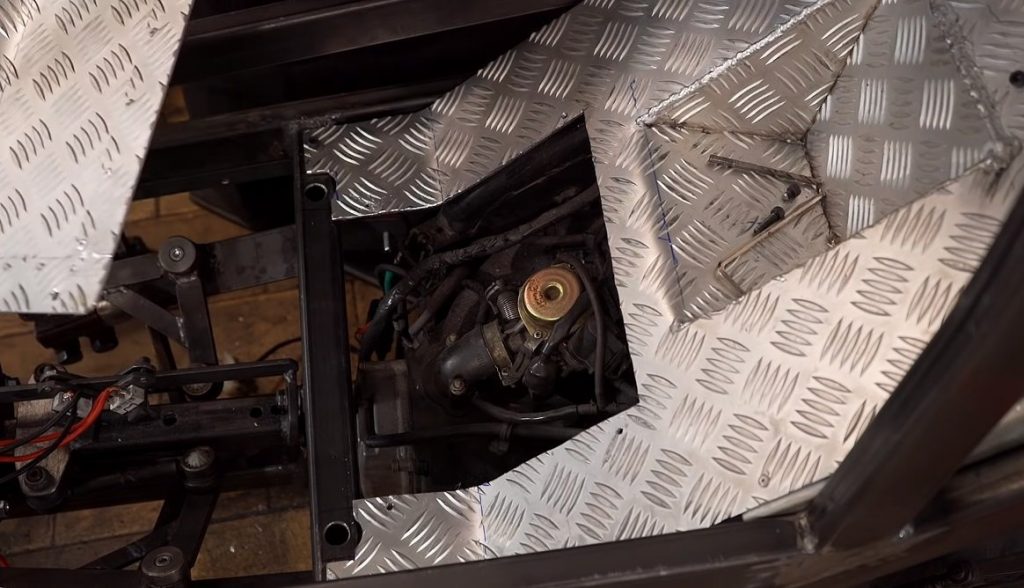
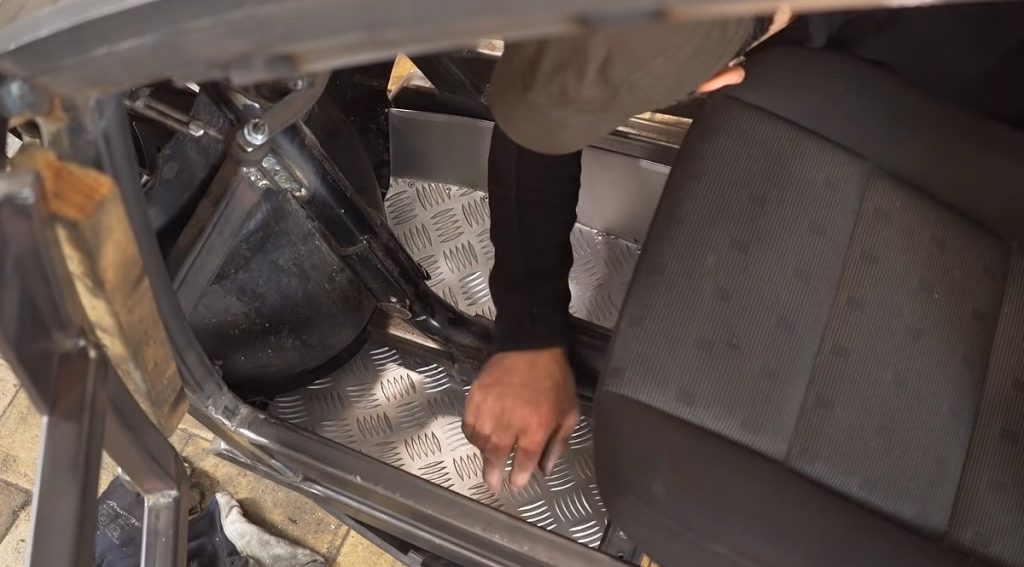
He then fabricated some aluminum diamond plate covers for aesthetics bearing in mind that he needs to have access to engine parts for maintenance. He also made a mounting area for car battery that will also be installed so he can add more accessories in the future..
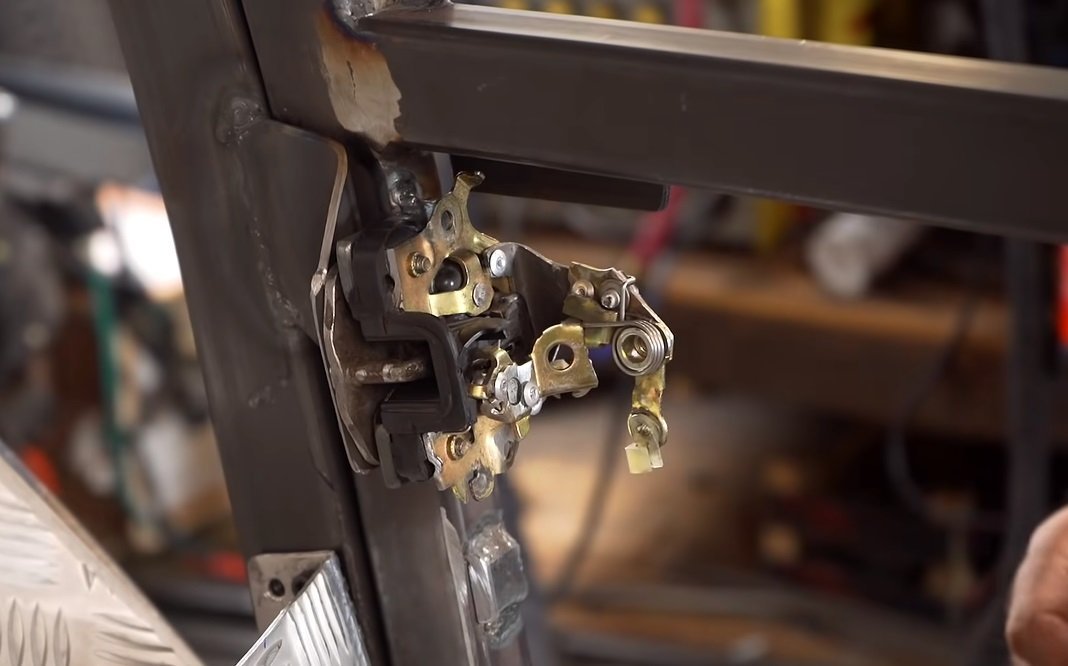
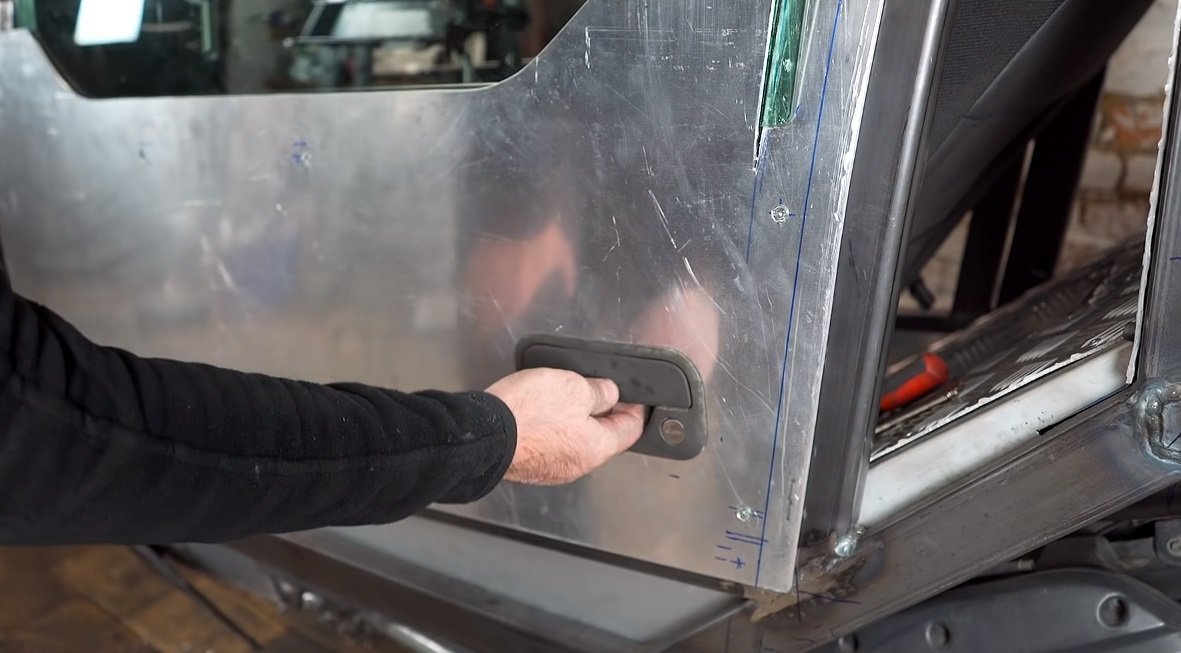
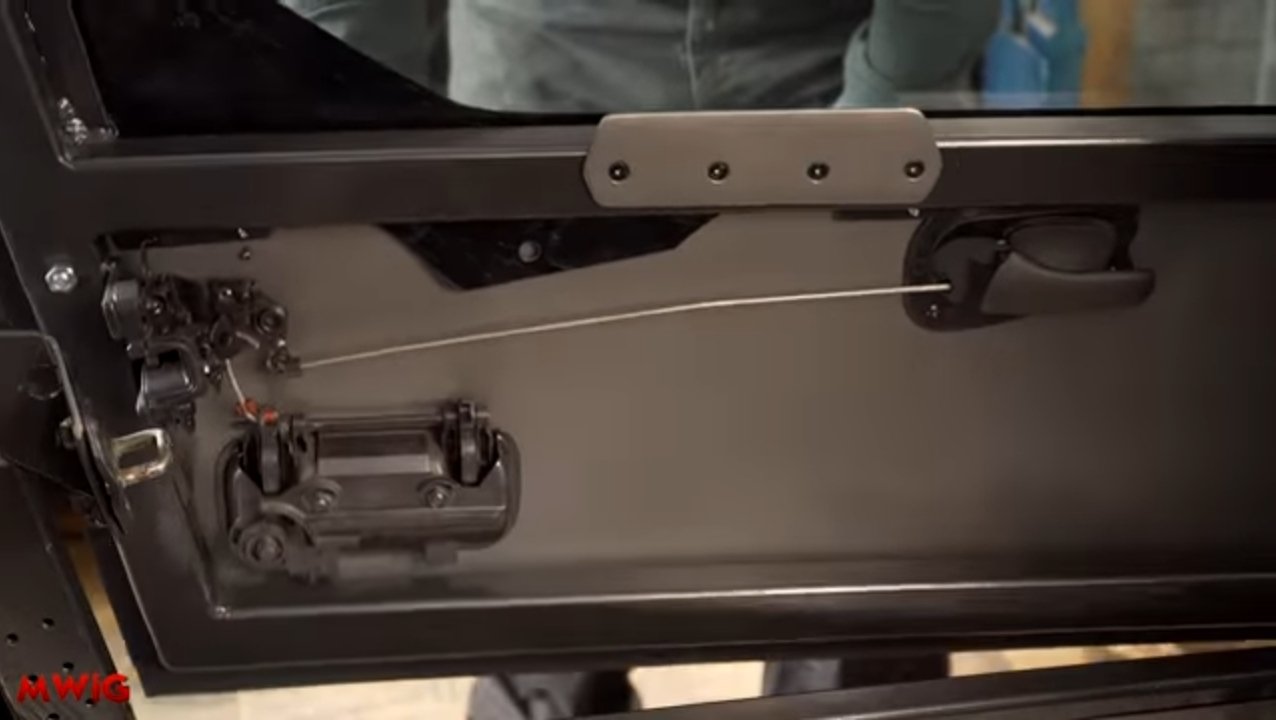
Every enclosed vehicle needs a door so here’s how he mounted the door mechanisms sourced from the scrapyard. This is probably the most difficult part of the build aside from the outriggers.
Parts and the frame are then painted and finished to give that extra pleasing look.
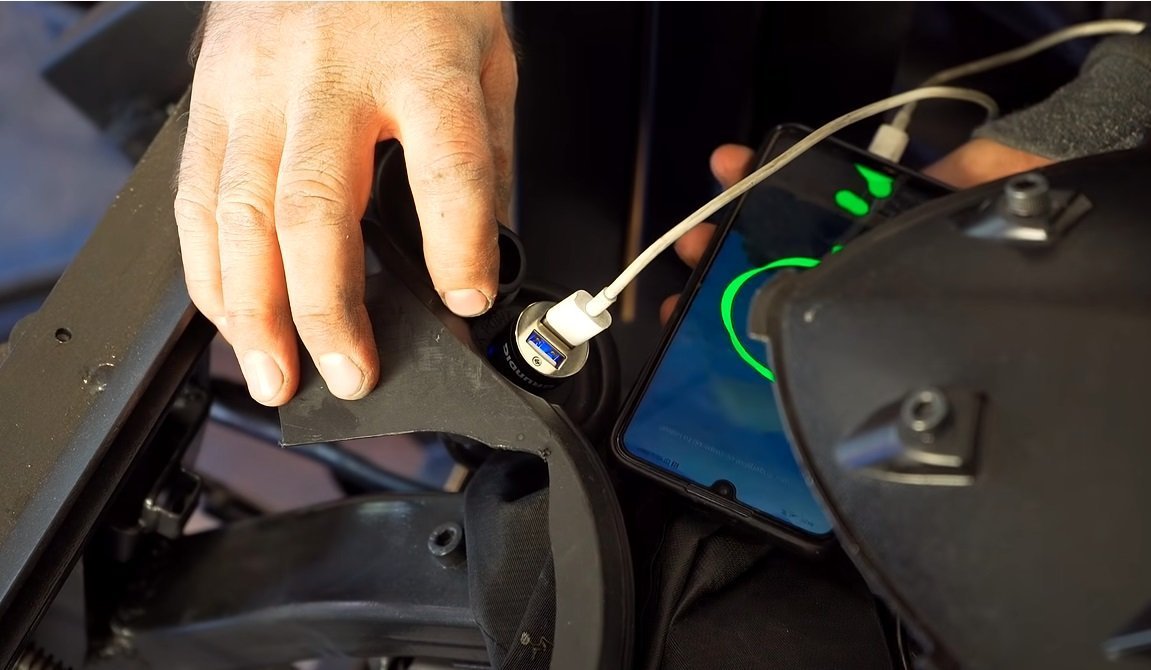
He even installed a USB charger for his phone and even GIVI topbox.
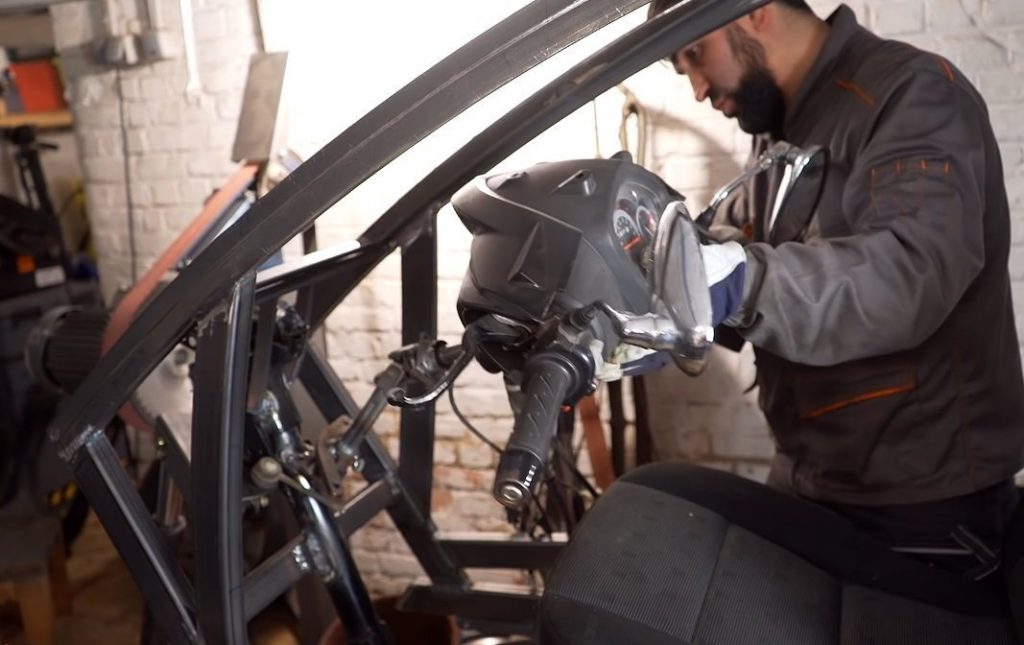
He reused the original Kymco instruments and controls modified to suit the space. Inside, it’s like a cockpit of a jet fighter on two wheels!
Being able to build things like this yourself is an absolute dream. Anyone may have an idea inside their heads but turning it into reality is far more complex that you imagine, knowledge and understanding on how to bend and weld metal is all great but without access to tools and equipments will render you to work twice or even thrice as hard.

It’s cool to see things like this being built in someone’s garage and we all dreamt of doing the same, having the right tools for the job is essential otherwise it will take you a very long time to attain such results like this.
And even with the right tools, problems will still be inevitable as there are no manuals for this kind of stuffs, and most of the time it will be trial and error but if you have the perseverance, you might pull this one through.
Given the complexity of this project, should you decide to replicate it, we may not attain exactly the results since most of us backyard builder’s only get by with what tools we have, like for example MWIG used a TIG welding machine and most of us just have the regular ARC welder. It can still do the job of course but not that level of quality a TIG welder can offer.
What we dont like about this build is it might be a little top heavy. You can get by using plexiglass on the side as it offers the same visibility but has a lighter weight plus you can cut it to your preferences if for example you want to add windows. We all know that weather here is far more diffrent in Russia and you dont want to die of heat exhaustion. And also a smaller and tubular frame can do the trick given that you can just add more bracing for protection against accidental falls. By also doing this you can add extra sound deadening materials for that added comfort and insulation.
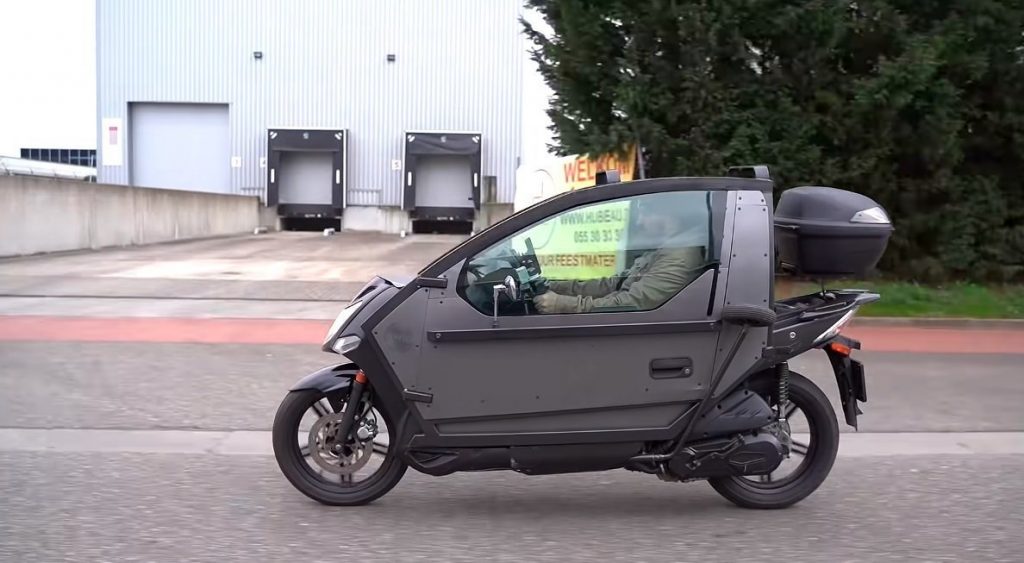
Overall, The author has done a great job on building his very own futuristic weather proof bike…
For a more detailed information on this build you can watch the whole video (and more of his garage frenzy) on his channel https://www.youtube.com/channel/UC_ydqmzXL5ucG_O2uu3tnkg
Did you find this interesting? Let us know if you attempt a similar build.
Thank you for visiting insideracing.com.ph.While you are here, kindly don’t forget to click on our advertisers, visit their site and consider them for your motorcycling needs. It will help us a lot.

You can also order a copy of our monthly print magazine for more riding contents to read and enjoy at your leisure anytime by clicking here.
You may also express your thought below through the comment section. You may also follow us on Facebook, on Instagram @Insideracingnation or subscribe to our YouTube channel.